


Marbles 0.1.4 (Solid)
Markus


Source (link to git-repo or to original if based on someone elses unmodified work):
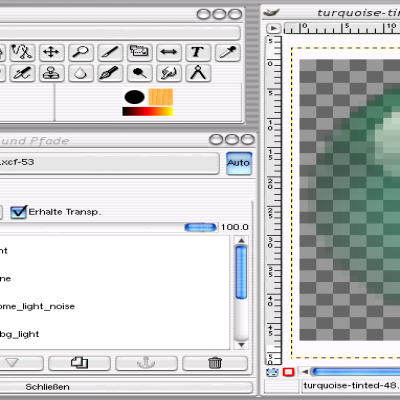
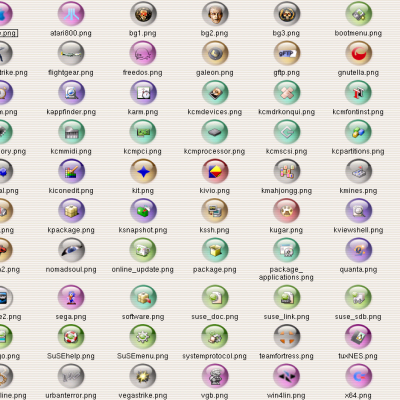
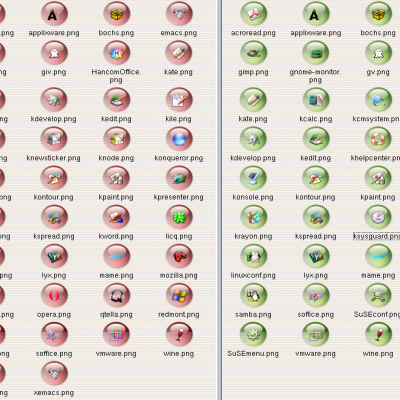
* New screenshot to show what results you can expect with the method described in the tutorial
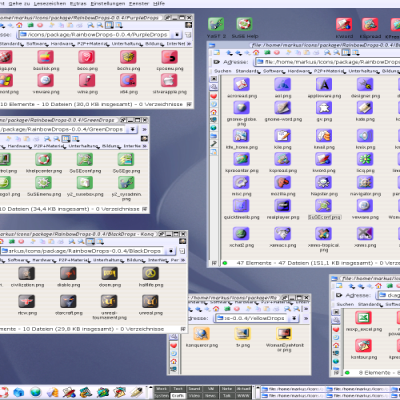
* Added a directory with some examples


More Icon Sub-Sets from Markus:
Other Icon Sub-Sets:


Ratings & Comments
6 Comments
One thing that you don't mention in your tutorial is how to defringe an image. If you just erase the background, you end up with an ugly fringe of color around the object you want. With many images, you can simply use Filters->Colors->Color to Alpha. This works on most images. For others, once you've erased the background with the wand, go to Layers->Alpha to Selection to get an exact selection of what you have on that layer, then Select->Shrink and Select->Feather to smooth it out, and finally Select->Invert and Edit->Clear. Using veriations of those two techniques (Shrinking & Feathering) can make the end result look far better.
You are completely right, but what you describe would be called "advanced techniques" by me. What I wanted to show were only the most basic things, so that I don't confuse beginners. I had considered to continue this series with more advanced techniques and a discussion of typical problems, but I make my decision on what I work next based on the popularity respectively demand... so maybe *you* would like to continue it? :-)
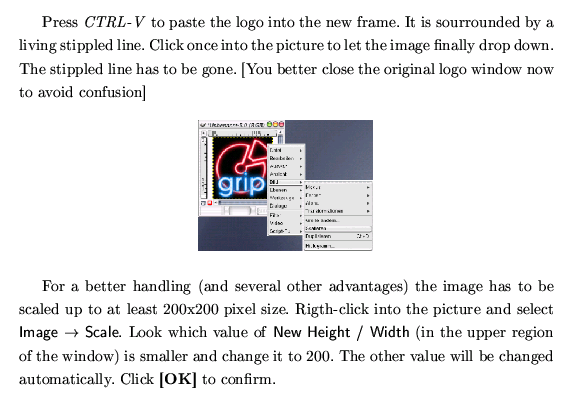
Good tutorial ! A little hint nevertheless : in the first pages you talk about converting the format of the image to GIMP one, assuming you mean using an RGB image instead of an indexed one, you can achieve this faster using 'image/mode/RGB' Another one, when removing the background of the image using the magic wand, use Ctrl+K (Erase) rather than Ctrl+X (Cut), this one won't overwrite the content of your clipboard.
And they will be worked in. Thank you!
of the resulting icons, maybe ? Anyway tutorials are a Good Thing(tm) !
Ok, I'll add one later today.